Sunday, 23 October 2016

A glut of green tomatoes

This year's tomato crop was late to get going, in spite of being planted out at the usual time. The first ripe tomato didn't appear until the end of August although I've enjoyed a steady stream of lovely home-grown fruit since then. However, with the days getting shorter and cooler, I couldn't put off the inevitable any longer and so decided to call it a day on this year's crop.

Before I could turn the plants onto the compost heap and use the soil from the pots to mulch the raised beds, I had to harvest the remaining fruit, which ranged widely in colour from green to red.

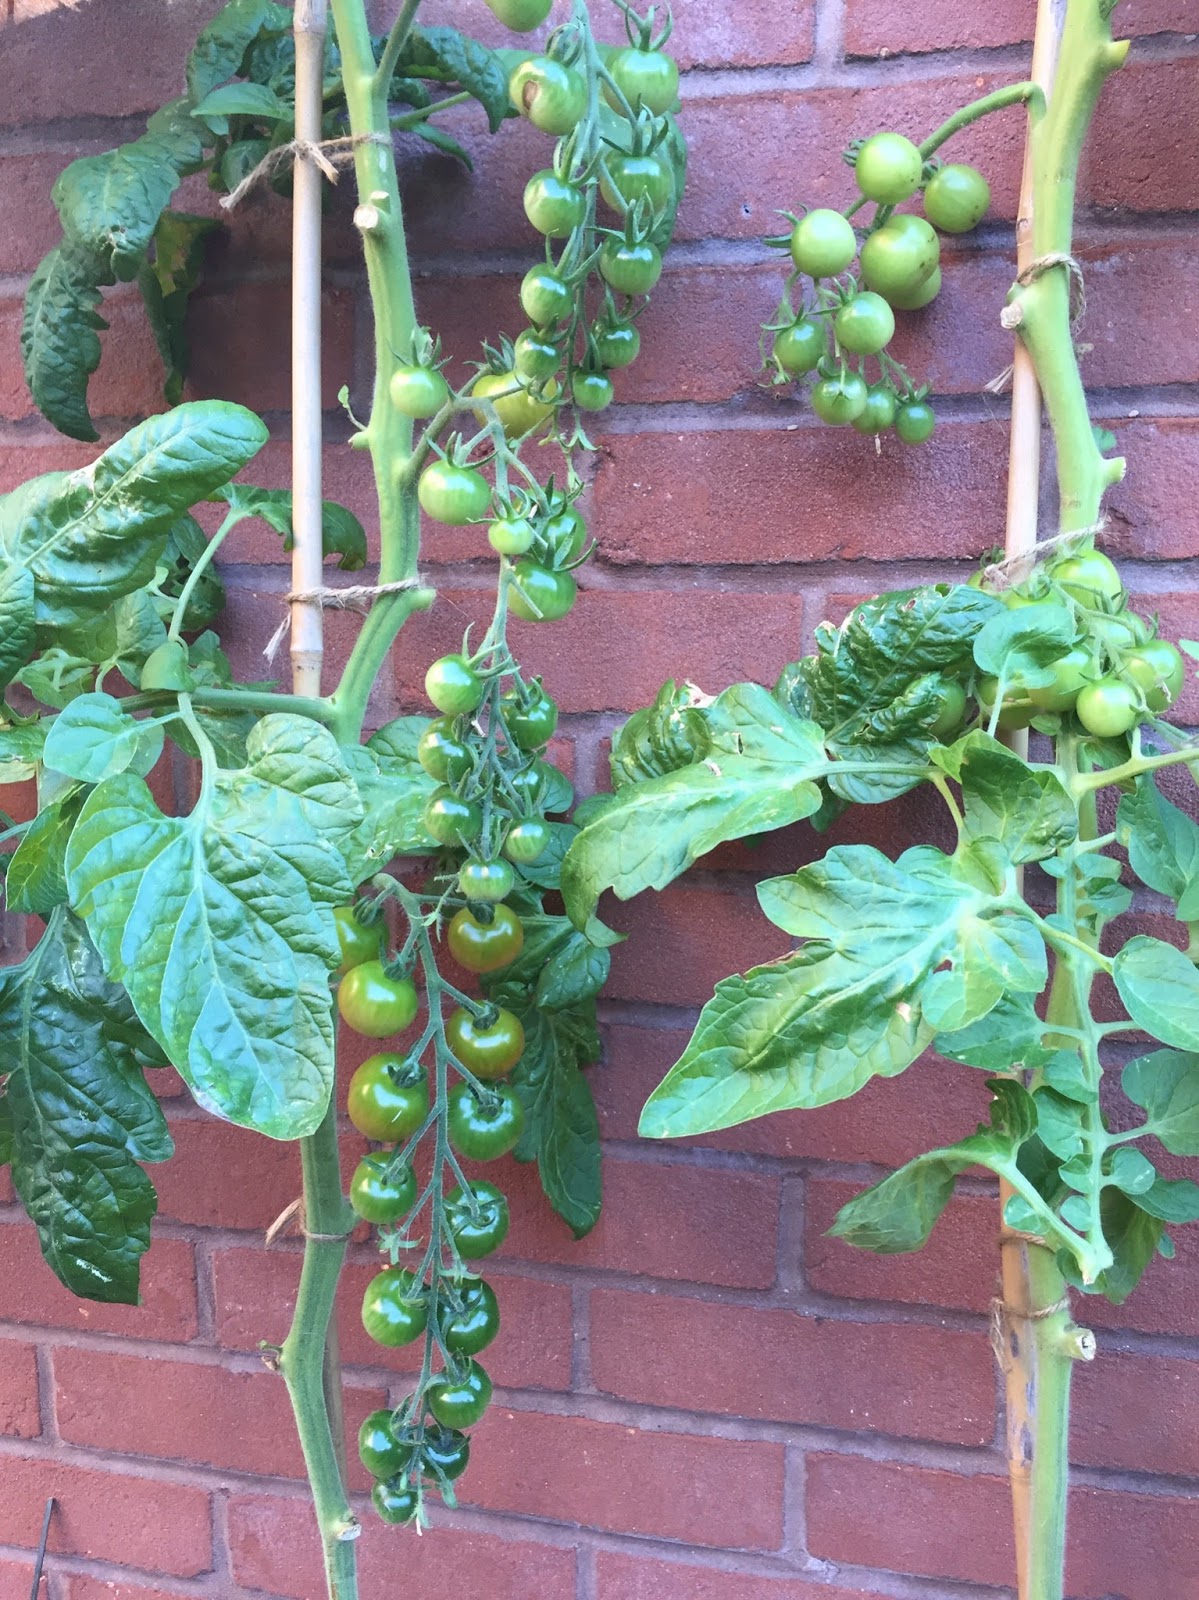
The full range of colour
...but mainly green!

After tidying up the garden I turned my attention to the tomato crop. The question was, what to do with the final harvest? I still have pots of Green Tomato Chutney from last year, and even a pot of Spiced Green Tomato Chutney from the year before, so this really wasn't an option. Instead I turned my attention to the internet in the search for recipes that use green tomatoes.

I soon learnt that, so long as you cook them for a good time, you can substitute red tomatoes for green ones in most things. I began with a batch of Green Tomato Dal.  This involved cooking a cup of red lentils in 5 cups of water for about 30 minutes. I then added 4 cups of diced tomatoes, ranging in colour from green to very pale orange; a chopped chilli; half a teaspoon each of ground fenugreek, ground coriander and ground cumin and cooked it all for a further 35 minutes.  I then seasoned it with salt, pepper and lime juice to taste before serving it with brown rice and steamed broccoli.

Riding on the back of that success I surveyed the contents of the fridge and store cupboard and realised I had the ingredients to make Ribolita - a very hearty Italian soup made from white beans, cabbage and tomatoes. I used a Hugh Fearnley-Wittingstall recipe, substituting the 400g tin of tomatoes for the same amount of chopped fresh tomatoes - all at different stages of ripeness. This recipe calls for the soup to be cooked for an hour before the cabbage is added which gave plenty of time for the green tomatoes to soften into the soup. The result was one of the most delicious soups I've eaten and, with more cabbage in the fridge and still more tomatoes to use up, I think a second batch could be on the cards.

I've also been making Roasted Tomato Sauce which involves placing a layer of chopped onion on a baking tray and covering it with halved tomatoes, cut side up. Sprinkle the lot with chopped thyme, salt, pepper, a tiny bit of brown sugar, a drizzle of balsamic vinegar and some olive oil before cooking for about 45 minutes at 190C or gas mark 5. The addition of a bit of sugar and the balsamic vinegar means you can get away with mixing in a few green tomatoes. Once cooked, blitz with a blender and use in place of passata. It can also be frozen so that you can enjoy that lovely summery taste in mid-winter.

I am tempted to continue in my green tomato recipe quest but with a bathroom floor to seal and a pair of wool trousers to line, I should really turn my attention elsewhere. At least I'll get to enjoy a few lunches of Ribolita this week.


Sunday, 9 October 2016

Door stops

Last autumn I gave the bathroom an overhaul (new bath panel, new floor, a lick of paint, new towels and bath mat, and a new shower curtain). With a slightly different colour scheme, a new door stop was needed. The one from the study was a perfect match and so got moved to the bathroom, which worked perfectly well for the first six months since the study door tends to be kept closed when I have the central heating on.

However, the advent of summer had the study door being propped open with nothing too attractive and a mini flood in the bathroom last month somewhat ruined the door stop there - I can't remember what I had stuffed it with but, oh my goodness, did it smell when it got wet!

Fortunately, a rifle through the materials box unearthed some more of the same fabric - off-cuts from making the Roman blind for the study - so I was in business for an afternoon of crafty activity with the monthly craft club gang.

Each door stop used a piece of fabric just smaller than a sheet of A3 paper, which was folded in half and sewn across one of the short sides and the long side to make a pouch.  I then sewed diagonally across each corner to make a sort of gusset to give the pouch a decent sized base. Into the pouch I poured 1.5kg of cheap rice before turning in a generous top hem, popping in a fabric handle, and sewing across the top.

The rice filled the pouch about two-thirds full so the remaining fabric and handle just folded over. The idea is that you can grab the handle to lift up the door stop to put it in place and the simple sewn seam at the top will be easy to unpick should the rice need topping up, or even emptying entirely for the fabric to be washed. Well, I guess there could well be another bathroom flood to contend with.

I repeated the process with a second piece of fabric to make another door stop for the study.

This was all done in a few hours, which left me with some time to kill at craft club. Although both door stops were nice they did feel a bit plain. I had been considering some sort of adornments but couldn't make up my mind before leaving for craft club so had brought nothing suitable with me. My friend very kindly came to my rescue, putting the button tin that she inherited from her Mother at my disposal. It was a treasure trove of buttons and fixings from the 1940s to about the 1970s. In the end I chose a set of ten coat buttons for the study door stop. They add a bit of weight to the top, enabling it top to flop over beautifully. They also hide a less than straight line of top stitching!


As for the bathroom door stop, the walls of the bathroom are painted white with bits of silver glitter embedded in the paint, so I couldn't resist a bit of 'bling'. I chose a sparkly buckle which I just slipped over the fabric handle.


All in all, a very successful afternoon's work!


Sunday, 25 September 2016

Manus x Machina


When in New York recently, I was lucky enough to see the Manus x Machina (hand x machine) exhibition at the Metropolitan Museum of Art. This was an exhibition that looked at fashion in an age of technology and it really was a fabulous show.

Traditionally, haute couture was classified as being hand made, whereas ready-to-wear was all about the machine and mass-production.  However, as technology develops this line is blurring and the show explored how the top designers are embracing machines and technology in new and wonderful creations.

However, I think it did more than that. It showed the enormous creativity, imagination, dare I say the genius of the top designers of the 20th and 21st centuries. But also the exquisite craftsmanship of the people they work with who seem to be the unsung heroes of their time. Not that it was always the case. Apparently, in the mid-1700s the crafts were placed on the same footing as the arts and sciences, being listed in the Systematic Dictionary of the Sciences, Arts, and Crafts (1751-72) and this exhibition demonstrated, to me at least, that this should still be the case in 2016.

The crafts showcased in the Manus x Machina exhibition were embroidery, featherwork, artificial flowers, pleating, lacework and leatherwork. Excuse the poor photographs but here's a small snapshot of what these master craftsmen and women can do (as well as the creativity of the designers that employ them).

1950's Dior & 2010's McQueen

...and again

Feathers? No, plastic drinking straws!
White plastic drinking straws

Artificial flower dresses, 1920s to current

My favourite piece: Raf Simons (Dior) 2015
Over-dress embroidered by Broderies Vermont
Under-dress embroidered by Atelier Montes

Pleating from the traditional to the 3D-printed

The pleating and folding genius, Issey Miyake
The above dress when not worn

Issey Miyake: this becomes...
...this.

And this...
...becomes this.
Doesn't Issey Miyake make you think about construction and shape in a whole new way?

Exquisite, hand-made lace
3D-printed 'lace'

The exhibition has made me think a lot about the value we place on the hand-made and the machine-made:

Is one better than the other or should we better value creativity, imagination, and the ability to use the tools of your trade - be that pencil and paper, needle and thread, or computer software and robot-controlled machine?

Is the sub-heading of my blog 'handmade stuff in a manufactured world' redundant?

Shouldn't crafts be reinstated on an equal footing to arts and science?


Sunday, 11 September 2016

Rhino homecoming

Last week I delivered my last crocheted animal toy. Well, the last for a while anyway. The final furry friend was Austin the rhino. Perhaps more pot-bellied than furry, but cute nonetheless.

He began life in Bristol....


... but soon travelled with me to New York city where he found a very happy home amongst friends.


Lots of friends!


When I left he was looking very much at home.

Saturday, 27 August 2016

The end or just the beginning?

The late August Bank Holiday in England and Wales always seems to signify the end of summer, even though we all secretly hope that we will enjoy fair weather all the way through September. Many take the last opportunity to get away before the new academic year begins and the garden starts to fade as the number of new blooms don't quite keep up with the number that need dead-heading.

In some ways it has been a typical summer but in other ways it hasn't at all. When the sun has shone, I've lolled in a hammock; when the rain has poured I've baked bread.  There have been especially cool days and extremely hot ones and the rain always seems to appear just as the water butt shows signs of running dry. However, the garden seems a little confused, as am I.

Right on cue in May the tomato plants were planted out. They grew like Jack's beanstalk and began to flower; the fruit seemed slow to form but gradually grew... and then stopped...

In the middle of July, when I would expect to pick my first ripe tomatoes, they were still looking decidedly green and small. Since then they have appeared to be almost frozen in time. My heart began to sink and I made a concerted effort to eat up all the Green Tomato Chutney still languishing in the cupboard from 2014 to make space for the anticipated 2016 batch.

Decidedly green

Each evening I'd come home from work, make a cup of tea, and wonder around the garden looking for signs of ripening fruit. But nothing. Even the figs were ripening on schedule, with the first appearing in mid-August and the rest following in quick succession. I've picked 12 of the gorgeously squishy, sweet things this week alone and they still keep coming.

One modest-sized fig tree...

... producing fruit right on cue

Today's fig harvest

Just as I was about to give up hope on the tomatoes, one fruit began to show signs of orangey-life last weekend and it's now almost ready to pick. Its neighbour clearly got the message and is following suit and I've begun to see signs of others thinking about joining the party. Relief all around!

Signs of orangey-life?

Ripening for sure

Relief all round!

Oh, and the first sweet peas have also been spotted. Only about 6 weeks late! Well, better late than never. Perhaps this is a sign that this year's summer really will stretch into September. Let's hope so. But if it doesn't I can always amuse myself indoors making green tomato chutney!

Better late than never

Saturday, 20 August 2016

Loafing around

The unseasonably wet and windy weather this weekend has somewhat thwarted my plans, and I know I'm not the only one with a lot of people putting off camping trips.

I managed to run some essential errands this morning without getting too wet or blown away but things seem to have settled down to an afternoon of steady drizzle with the occasional downpour. Any thoughts of venturing out of the house for a second time have definitely disappeared.

Although I tried to relax into an afternoon of reading I just couldn't stick to it and was suddenly gripped with the desire to make some bread.

So, with the Women's Olympic triathlon as my soundtrack I set about making a seeded cornmeal loaf, which is probably one of the simplest bread recipes I know, in spite of having a relatively long list of ingredients.

Pre-heat the oven to 190C or gas mark 5 and lightly oil a 1lb (450g) loaf tin.

Into a large mixing bowl sieve 175g strong bread flour (I used Dove's Farm gluten-free brown bread flour) and 1 teaspoon of bicarbonate of soda, then stir in 150g polenta, 1 teaspoon of caster sugar, 1 teaspoon of salt, and 25g each of pumpkin seeds, sunflower seeds, poppy seeds (reserving 1 teaspoon), and milled flaxseed (or seeds of your choice). Beat 1 egg with 150ml milk (I used almond milk) and 125ml yoghurt and add to the bowl, stirring with a wooden spoon to form a slack dough.

Transfer the mixture into the prepared loaf tin and sprinkle with the reserved poppy seeds. Bake in the pre-heated oven for 50-60 minutes.

Cool on a wire rack, although it's delicious served slightly warm.


Sunday, 14 August 2016

A bag for a gift

I always like the idea of giving a gift in a gift bag but at between 80 pence and £2.50 a go it's a lot more expensive than conventional wrapping paper. I've therefore been thinking about making my own gift bags.

This weekend I had the perfect opportunity. I had a suitable size brown paper bag that I'd been given in a shop for a small purchase and had come across some left-over wallpaper. The wallpaper not only had a striking design but is thicker than conventional wrapping paper and so I felt it would hold up to being made into a bag.

I began by dismantling the brown paper bag, carefully prising open all the glued seams.


Next, I folded the paper handles out of the way and used it as a template to cut out a rectangle from the wallpaper.


Placing the paper bag over the wallpaper rectangle I then folded along all the lines of the original bag.


Re-checking with the brown paper template as I went, I used double-sided sticky tape to construct a new bag from the wallpaper.


The inside base looked a bit messy so I cut out another rectangle of wallpaper and stuck this over the bottom.  This not only hid the seams but gave a further level of rigidity and strength to the bag.


The next step was to add some handles. A few years ago I picked up a rivet set for the princely sum of £1.00. The set included 100 rivets so I wasn't expecting too much from it, and admittedly didn't get perfect riveted holes but they seemed to do the job. Lining up where I wanted the handles I punched 4 riveted holes along the top edge of the bag.


Of course, if your chosen paper is very robust you could just use a hole punch to make the holes. You could also cut your paper template about 3cm taller and fold over this margin so that your holes are punched through a double thickness of paper.

All that was left to do was to add the handles which I raided my ribbon box for.  As you can see in the photo I've a lot of ribbon! Some is left over from other projects but I also salvage ribbon from pretty much everything - boxes of chocolates, gifts, even those that come attached to the inside shoulder seams of clothes to keep them on the hanger. You don't need to use ribbon if you don't have any since buying it specially would rather defeat the object of making your own gift bag at a lower cost than buying one. Depending on the look you are going for you could use wool, raffia, string - whatever you have to hand.


If you think this all sounds like a bit of a palaver, it was all done in the time it took me to drink a mug of coffee - which I did as I went. I was pleased enough with the result to use it immediately. A friend who has been loving all my crocheted animals is about to move into a flat in a newly converted church. I thought it only right that her church flat should have a church mouse.


Wrapped and ready to go